
Product Photography Tools
What Do You Need to Take Amazing Product Photos?
What Product Photography Tools Do I Need?
Your product photos are often the deciding factor as to whether someone purchases your product from your website or not. To take amazing product photos, you need the right tools. Some of the most commonly used product photography tools include:
- Camera
- Smartphone
- Tripod
- Light box or tent
- Backdrop
- Lighting
- Photo editing software
Let's look at the uses, pros and cons of each of these individually.
Using a Camera for Product Photography

Even though technology has evolved, the humble camera remains a popular option for product photos.
Whether you're using a point and shoot or a DSLR, as long as the camera specifications suit your needs, you'll be fine.
These include things such as connectivity and how it downloads photos, the pixel quality, memory, if it can take HD videos as well as photos and the type of software it uses.
Pros include low cost, easy to use and good results. The cons are that it requires additional work to download and edit the photos onto another device, and some cameras can be very pricey, or bulky to carry around.
Smartphones & Product Photographs
Since everyone seems to have a smartphone today, this is the most common tool people use for their product photography. The quality of the camera within the phone has increased significantly, and most phones have photo editing software too. A phone is also convenient and lets the user upload the photo directly from their phone to their website too.
Pros include easy to use, multi-purpose tool, and takes good photos. The cons are that depending on the level of detail required in your photos, a phone camera may not be the best choice.
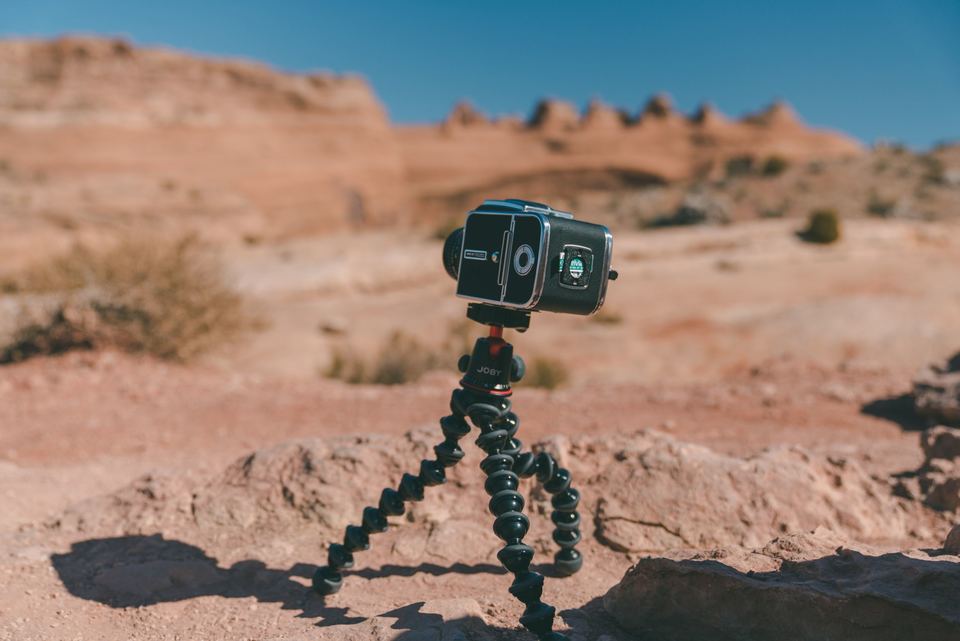
How Tripods Help Improve Product Photos
Tripods help by holding the camera or smartphone steady or in one position while taking product photos. They are also good for helping you capture a time-lag photo series. Some are traditional models, requiring a flat surface to be used, while others have adjustable legs which make it more versatile.
The pros of using a tripod are that you don't need to hold the camera yourself, the camera remains in the same position and takes photos without wobbles.
The cons are that it's an additional expense, you need to select a tripod which is compatible with your camera and surface it will rest upon.
Product Photos Using Light Boxes or Light Tents
Light boxes and light tents help take great product photos in two ways: provide good lighting and a clear backdrop.They are either a tent or box shape with three walls, a roof and a floor. When you put the product inside one, you can take a photo with a white background and with no shading. It also stops reflections and helps keep all of your photos uniform.
The pros of light tents and boxes are they are easy to use and portable, cheap or you can build one yourself and they provide you with consistent themed photos.
The cons include being restricted to what's available to purchase, unless you build your own, and not all products will fit inside a one.
Backdrops for Product Photos

A backdrop is positioned behind a product to help set a mood, add interest to the photo, include props or make photos consistent with one another. Backdrops can be made of vinyl, cardboard, a sheet, paper or fabric.They can be of any colour and design, but traditionally are white.
The pros are they can be made to any size, and are cheap to buy or make.
Cons include that they need to hang against something, such as a wall or between poles, and usually need to be set up and put down for each photo shoot.
Choosing Lighting Sources for Product Photography
Great lighting always makes photos look better. You've got two options: natural or artificial. If using a light box or tent, it will most likely come with LED lights. If not, you will need to select and then position the lights yourself. You'll need at least two identical artificial lights positioned on either side to avoid shadows, or put the product as close to a natural light source as you can.
The main pro of using lighting is that it makes your products look so much better.
For cons, there really are none, other than the purchase of artificial lighting and needing to practice using your chosen lighting source to get the best result.
Using Photo Editing Software for Product Photos
Unless you are a professional graphic designer or photographer, you're not going to have access to many of the paid photo editing software options. There are however, a lot of free photo software options you could use, including:
Some software is cloud based, others require downloads to your device or are apps. Like with everything, there's a learning curve, but once mastered, it is a great skill to know. Photo editing software can remove backgrounds, add special effects, change the photo size and edit colours.
Pros of using photo editing software are that it makes photos look better, you don't need to get the photo you take perfect and there are many free options.
Cons include needing to take the time to choose and then learn how to use the software, may not be connected to your smartphone and you need to be prepared to pay for additional features not in the free options.

For tips on taking product photos, be sure to check out Website Builder's article on how great photos can increase a website's sale volume.
Posted: Friday 2 August 2019