Can't Draw?
Create Your Vision Board Using Canva
Vision board are amazing tools and are created to help develop a plan forward, identifying the direction you want to move in to achieve your goals.
If you haven't already read our article What is a Vision Board? we suggest taking a look first, as it contains information to help you choose what you'll add to your board in Canva.
If you're ready to learn how to create your vision board using Canva, then get prepared to find out more about:
- Finding images using Pinterest
- Selecting your Canva template
- Importing images into Canva
- Creating your template grid
- Adding images to your template
Creating Your Vision Board Using Canva
Canva is an awesome tool business owners can use to create their vision boards with. Using images saved from online, you can quickly create a board without needing to draw, cut or glue anything! Here are the five steps to make your own vision board with Canva:
1 - Create a vision board ideas board in Pinterest. If you haven't already used Pinterest, take a read of our article Beginners Guide to Using Pinterest first. Using the inbuilt Pinterest search engine, look for image and quotes which resonate with your goals and future visions.

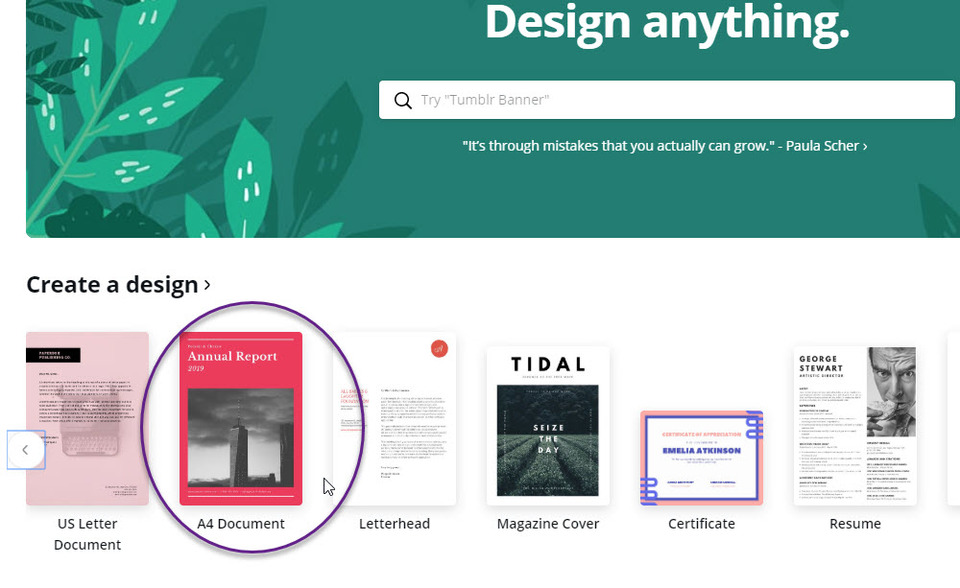
2 - Next you'll need to choose a template in Canva on which to create your vision board. If you are unfamilar with Canva, take a read of our article Using Canva to Create Social Media Templates first. The size of the template you choose will depend on how you will publish it. For example, printing on your home printer will require a compatible size, such as A4. In this example, we've decided to select A4 document size:

Then you need to select the images from the location you have stored them, and upload one by one into your Canva account.
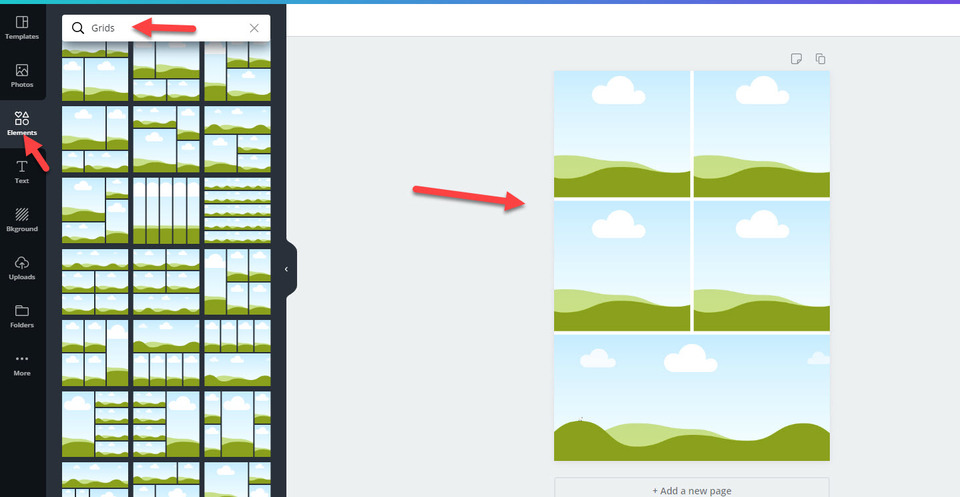
4 - The fourth step is picking the grid option for your vision board. To see the grid options available in Canva, click on the Elements icon on the left of the screen, then choose Grids. All of the options will be displayed on the left hand side of the screen. Choose the one which suits you best and click and drag it to your blank template on the right.
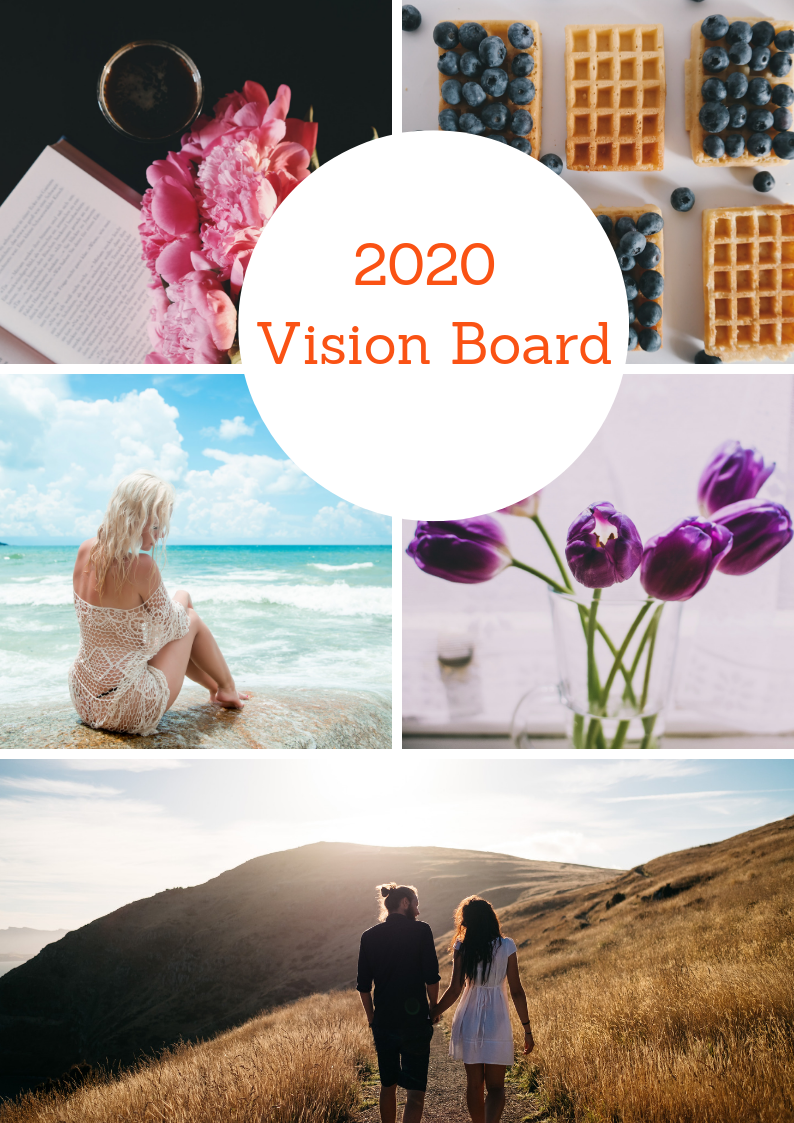
5 - Finally comes the step where you add your images to your vision board template! Spend time arranging them in an order which suits you, adding text if you'd like to. When finished, print it out and hang up to look at every day!
Need More Vision Board Help?
Don't forget to take a read of our article What is a Vision Board? to learn more about these visual tools and the benefits of using them.
Posted: Monday 26 August 2019